Running the first time
The default alignment of Align Tool is to just align objects to the +X plane of the world coordinates, by using the geometry of objects, whose origin is picked up from the generated bounding box that follows the current plane.
So, as a first exercise, just select some object and press the Align button. Your object will move to one side of the X plane of the world. If you want to move your object and see how it gets projected into the plane, press the eyeball icon next to the Align button and select your object. Move, scale and rotate it while you preview the resulting alignment.
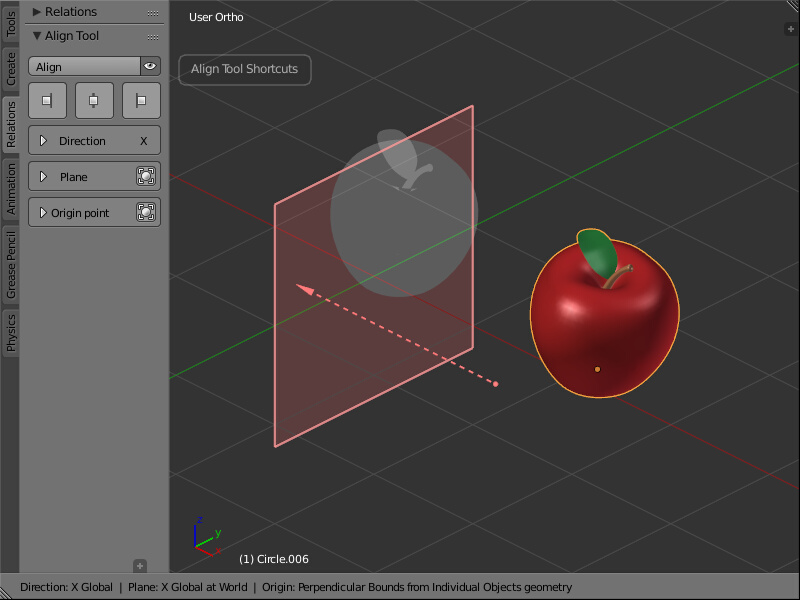
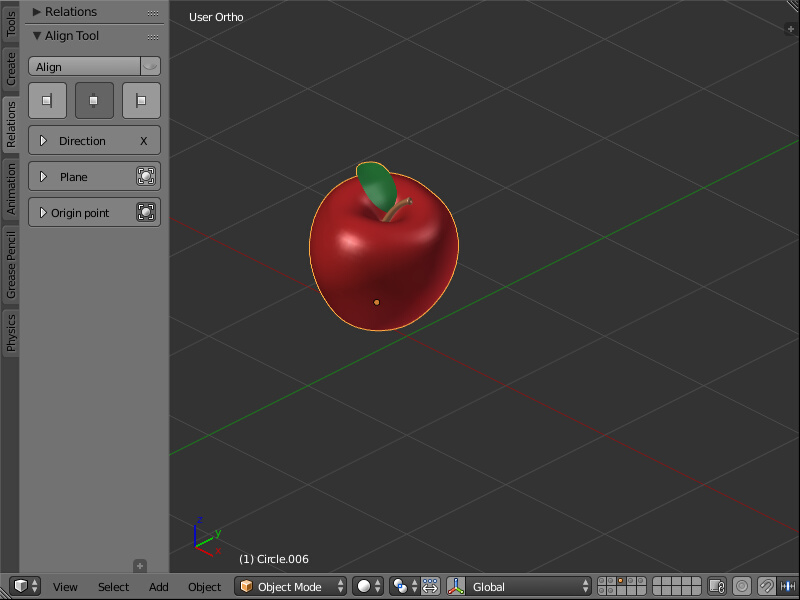
The default behaviour of Align Tool.
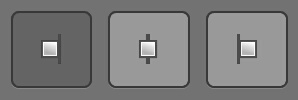
To better see what’s going on, enable the little bounding box button next to the Origin point panel. This allows you to see the considered bounding box that is being used while your alignment is taking place.

Enabling the drawing of bounding boxes for objects.
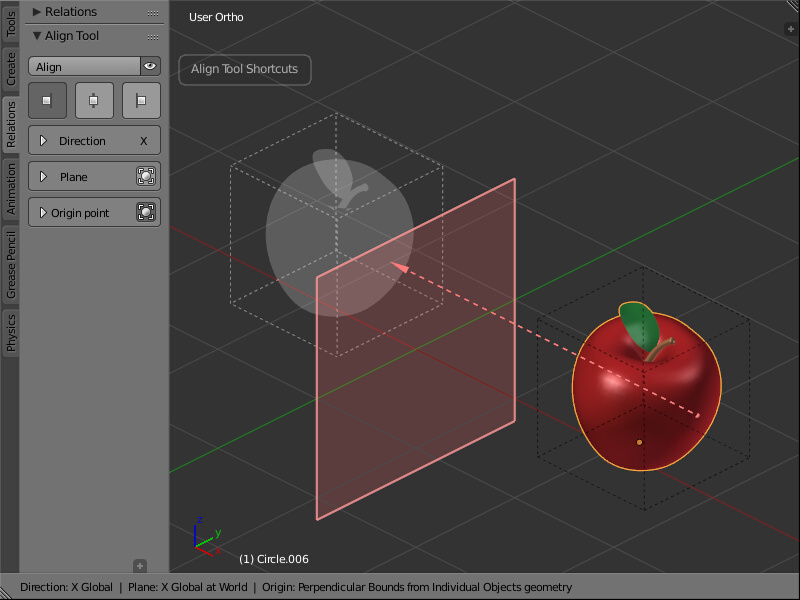
Now you can see that your object has a bounding box from where the origin of the translation is being picked up.

The bounding box helps to understand how is the alignment being done.
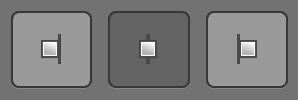
To switch fast between the levels of alignment relative to the plane, use the Preset Alignment buttons on top. This is just a predefined configuration of alignment that automatically takes some origin point on your object to make it go to one side or the other of the projection Plane.
Align your object to the ‘left’ (negative direction of the current plane)
The alignment changes and the Status bar informs of the change.
As you can see, your object gets aligned to one side of the projection Plane, and the origin point from where the translation is being taken, has moved from one corner of the bounding box to the midpoint “behind” the object.
Try the centered alignment.
The preset for a centered alignment.

The object is centered on the plane, and the ghost helps to preview its final position.
You can see how the alignment changed, and the origin point moved to the center of the bounding box.
Now confirm the alignment by pressing the Align button on top, or by just pressing the Enter/Return key.
The object has been aligned to the Plane.
Your object moves to its final position and the interactive mode is leaved automatically. As you can note, your last settings are remembered per session, so this way you can easily apply the same kind of alignment to different groups of objects.