Adding a Custom Orientation
To manually add a Custom Orientation for you current selection, you can use the default Blender’s shortcut to add a new Transform Orientation: Ctrl + Alt + Space
Optionally, you can add a new Custom Orientation from the appropriate panel found in the Properties Tab of the 3D View (N key) > Transform Orientations subpanel.
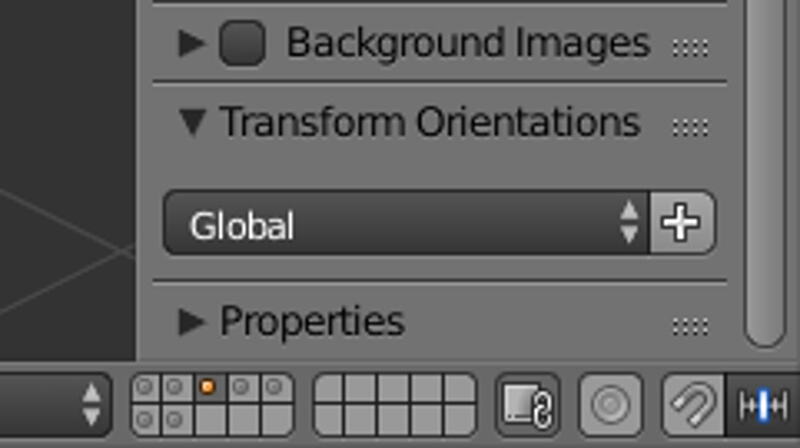
The Transform Orientations panel in the Properties Sidebar (N).
Then by pressing the plus (+) button, you will add a new Transform Orientation that will be taken from the current selection context and will become available throughout Blender. If you are in Object Mode, the Transform Orientation will be taken from the active object. If you are in Edit Mode, it will be taken from the selected vertices/edges/faces. It’s not mandatory to select just one element, and you can have more selected.
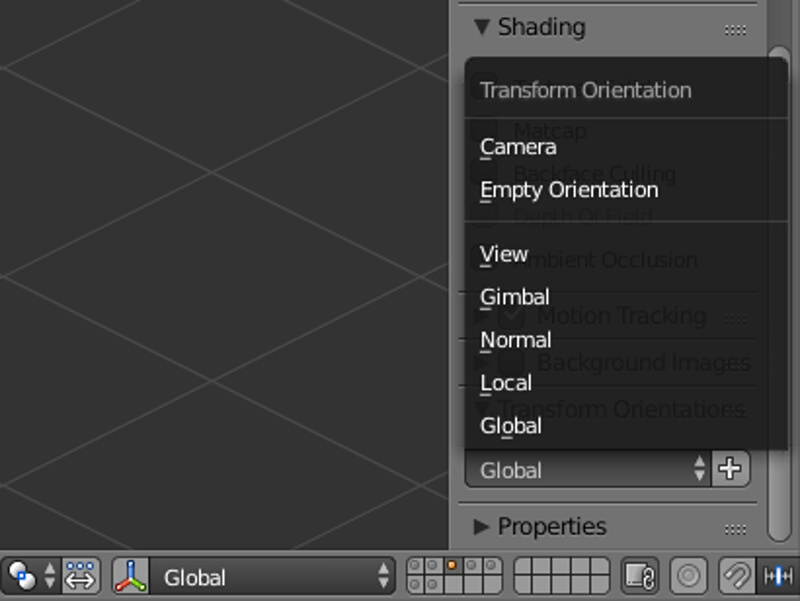
The Transform Orientations of the current scene. All of these will be used by Align Tool except for Gimbal and Normal.
After adding the new Transform Orientation, it will be listed as a new Custom Orientation in the main panel of Align Tool.
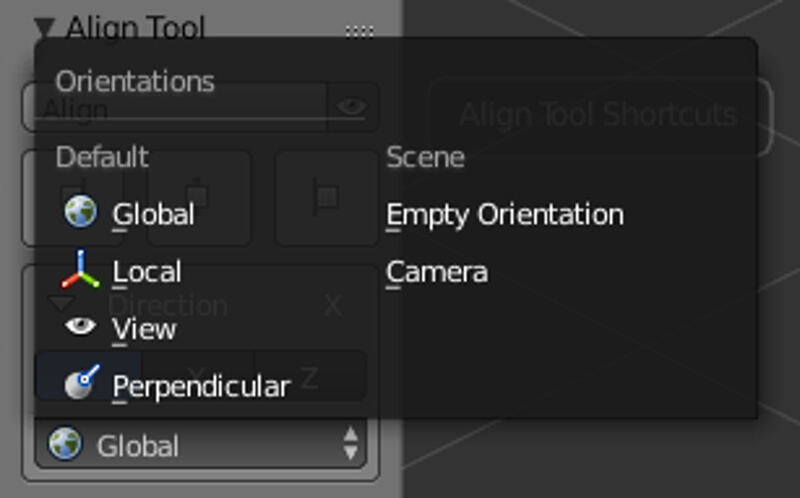
The Orientations available in Align Tool.