Picking a custom Origin point in Edit mode
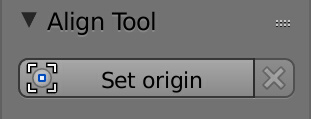
If you enter Edit mode while you have a mesh, curve, surface, lattice or armature object, the Align Tool panel will change, showing new buttons to Set and Remove a custom origin point.
Set a custom origin point in Edit mode.
You can use this as a singular origin for all your selected objects. All of them will start moving from this point. Just note that this is different than the option All selected, since if you use a Local Direction, you could project objects individually, every one of them starting from the same point, but reaching a different location.
If you press the Set origin button, the vertex picked will be the active one, no matter if you have several of them selected. Once you have set the origin, the Remove button will become available. The picked origin will be drawn with a green dot, and you will be able to pick it up again in Object mode in case you select another Origin point.
The custom origin is automatically removed when you confirm or exit the interactive mode.
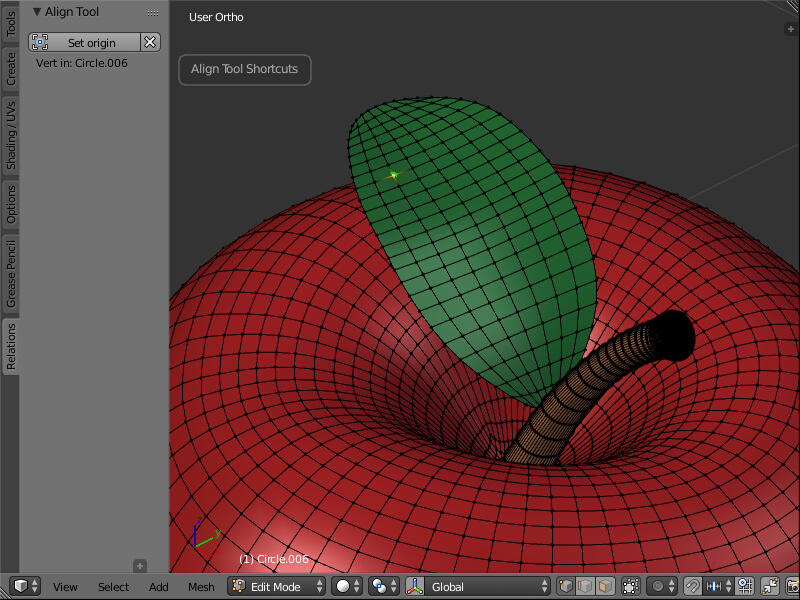
A custom origin point selected in Edit mode.
The custom origin will appear in the Origin point panel, from where you can also remove it at any time.
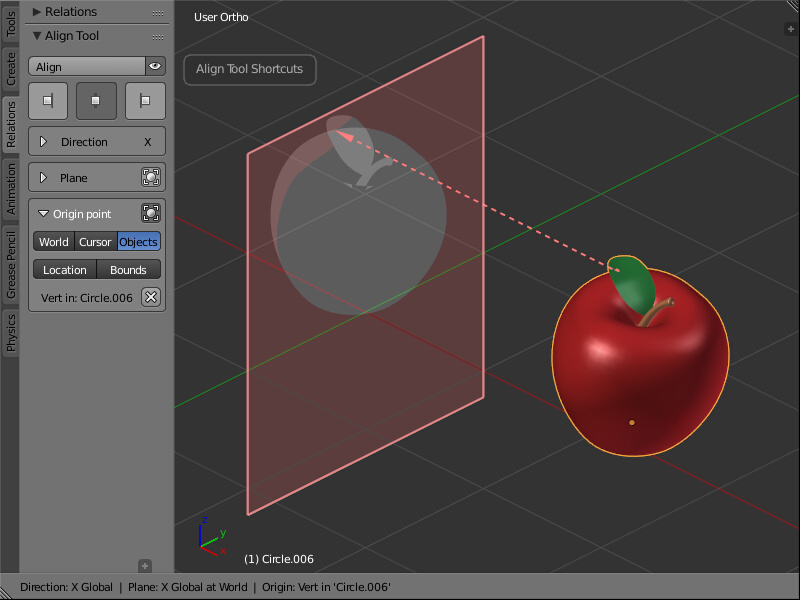
The alignment taking place from the custom origin point.
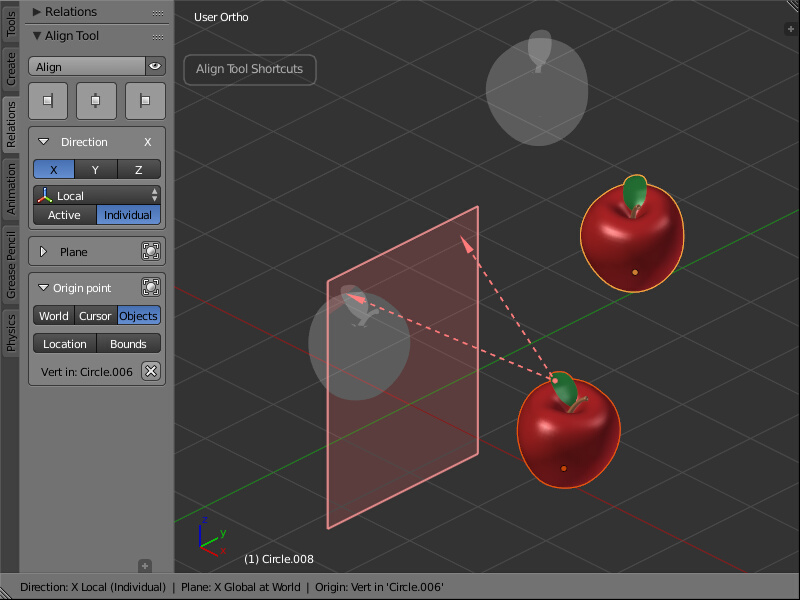
When multiple objects are selected, any one of them can move in their local axes.
You can always pick another origin point with the Ctrl shortcut, and when you have selected another, your custom origin point will appear as a green dot, from where you can reselect it.

Reselecting the custom origin point.