Selecting a Custom Plane from Edit mode
If you have a mesh object and enter Edit mode, selecting the Align tool from the Toolbar, displays different options in the Sidebar (N). From here you can Set and Remove a custom plane.

The Set Custom Plane button shown in Edit mode.
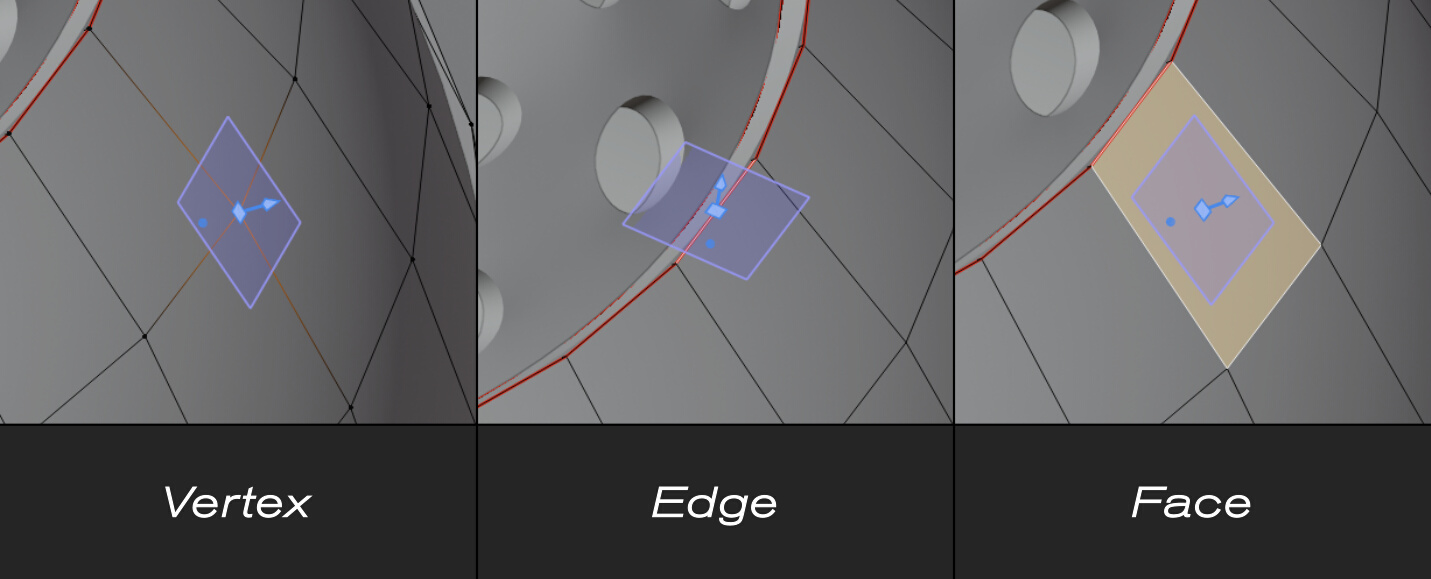
Setting this is the equivalent to the custom plane that you can pick from the 3D view when pressing Shift + P, except that this way you use the mesh elements instead, which may use the vertices, edges or faces that you select. Any selection of elements is allowed.
After selecting your elements, pressing the button Set Custom Plane, creates a draggable custom plane that is drawn in the 3D view colored with the Z axis Plane. Once you have set the custom plane, the Remove button becomes available. Unlike the custom origin, the custom plane is independent of any object, and therefore you can drag it at any time, select and move all the objects you want, while the custom plane keeps the same position and orientation.
If you can’t see the custom plane in Edit mode when you have already set it, it may be that you need to enable the Show Gizmo button in the 3D view. You can easily toggle that option with the shortcut D.
A custom plane set in Edit mode.
To make use of the custom plane just go back to Object mode.
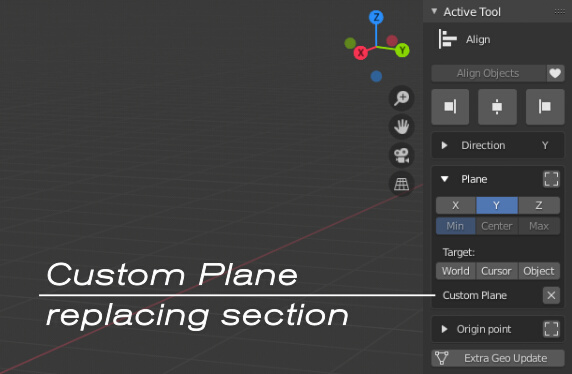
When you have set the custom plane, you can find a new text line ‘Custom Plane’ in the Plane panel found in the Sidebar (N), replacing the plane target options. From here you can also remove the custom plane at any time by pressing the little X button.
The custom plane is also lost when you get out of the Align tool both in Object and Edit modes. This is by design.